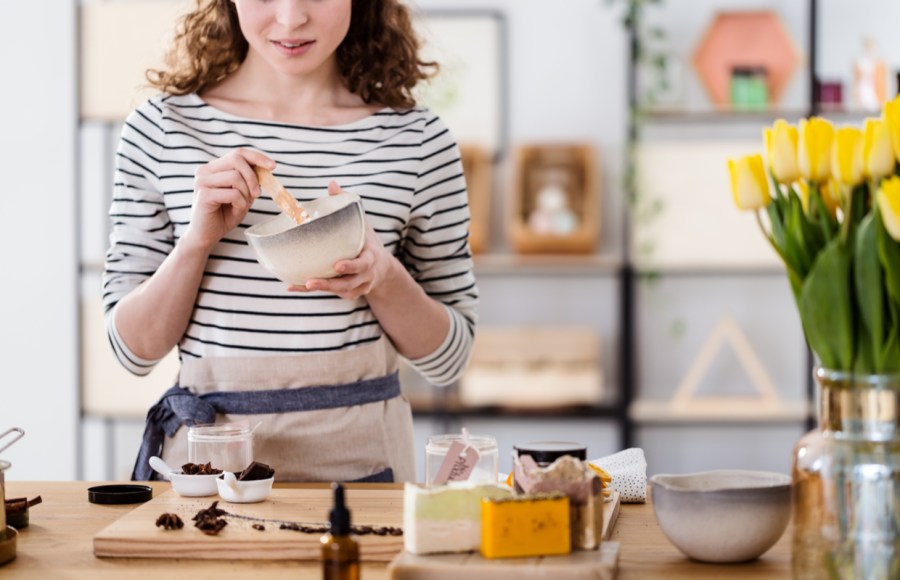
Foods don’t just have the power to keep you healthy on the inside – you can use them on the outside for beautiful results too! Discover how to make your own DIY homemade skincare products using the food in your fridge and cupboards with these simple recipes…
Words: Carly Hobbs | Images: Shutterstock
Red and yellow, and pink, and blue, purple, and orange and green…you can paint a rainbow with the abundance of fruit and veg in season right now. From berries to avocados, nature’s best offerings are here to up your vitamin and mineral content. But did you know they can make you look fresher not just when you eat them, but also when you apply them topically to your skin? By transforming the food in your kitchen into DIY homemade skincare products, your beauty routine can receive a powerful, natural boost.
The rise of DIY homemade skincare products
‘Summer is a great time for raiding your fridge and cupboards for DIY skincare ingredients,’ says Lorraine Dallmeier, director of Formula Botanica, an organic cosmetic science school. ‘In fact we’ve seen a steady increase in women producing homemade skincare formulations. The desire to take control of what we put on our skin has grown exponentially in the last decade, with people experimenting with fruits, herbs, flowers and oils to make their own lotions and potions.’
Lorraine has seen global student numbers coming to her online school grow from 300 to 4,500 in just four years. Throw into the mix the rise of independent British beauty brands such as Beauty Kitchen, created in a kitchen in Scotland; Make Skincare, hand blended in Somerset; and London’s Skin and Tonic, which specialises in magical mists made with just seven ingredients, and it’s clear the homemade idea is definitely hot right now.
Benefits of making your own skincare products
‘The main benefit of making your own beauty products is that you control the ingredients that go into your formulation,’ says Lorraine. ‘Once you start to delve into this exciting world, there’s no looking back and it’s good for your skin – plants alone contain compounds that work in synergy with each other, it would be almost impossible for a combination of synthetic ingredients to mimic such a complex operation.’
Getting started with DIY homemade skincare products
While making your own is great fun, it’s not just a case of combining all the best anti-ageing veggies and fruits with some store-cupboard essentials. You also need to ensure they work in harmony and can remain active so actually serve your skin. Start with the basics, then you can work up to more complex formulations, with expert guidance from books, online services or specialised courses.
For now, there are just a few key factors to consider as you blend your inner Mary Berry with your future Estée Lauder…
1. Always dilute essential oils for DIY homemade skincare products
‘Be careful with essential oils,’ warns Lorraine. ‘They’re amazing ingredients, which contain many hundreds of potent chemical compounds found in plants, however never use them neat on your skin as they can cause sensitisation and irritation. Always dilute them in a carrier like a vegetable oil.
2. Keep unpreserved skincare products in the fridge
It’s also important to keep your unpreserved homemade beauty products in the fridge. Any unpreserved water- or plant-based DIY recipe does not have a shelf life of more than two days. It will go off and pick up bacteria and that’s not something you want to be swiping all over your skin!
3. Don’t attempt homemade SPF products
‘Finally, unfortunately, you can’t make a verifiable SPF with a DIY recipe. Ingredients such as zinc oxide have a clumping tendency so they don’t go on evenly, plus plant and essential oils alone do not provide enough UVA or UVB protection.’
So with the basics noted, it’s time to get cracking on your DIY treats – and it’s easy peasy lemon squeezy.
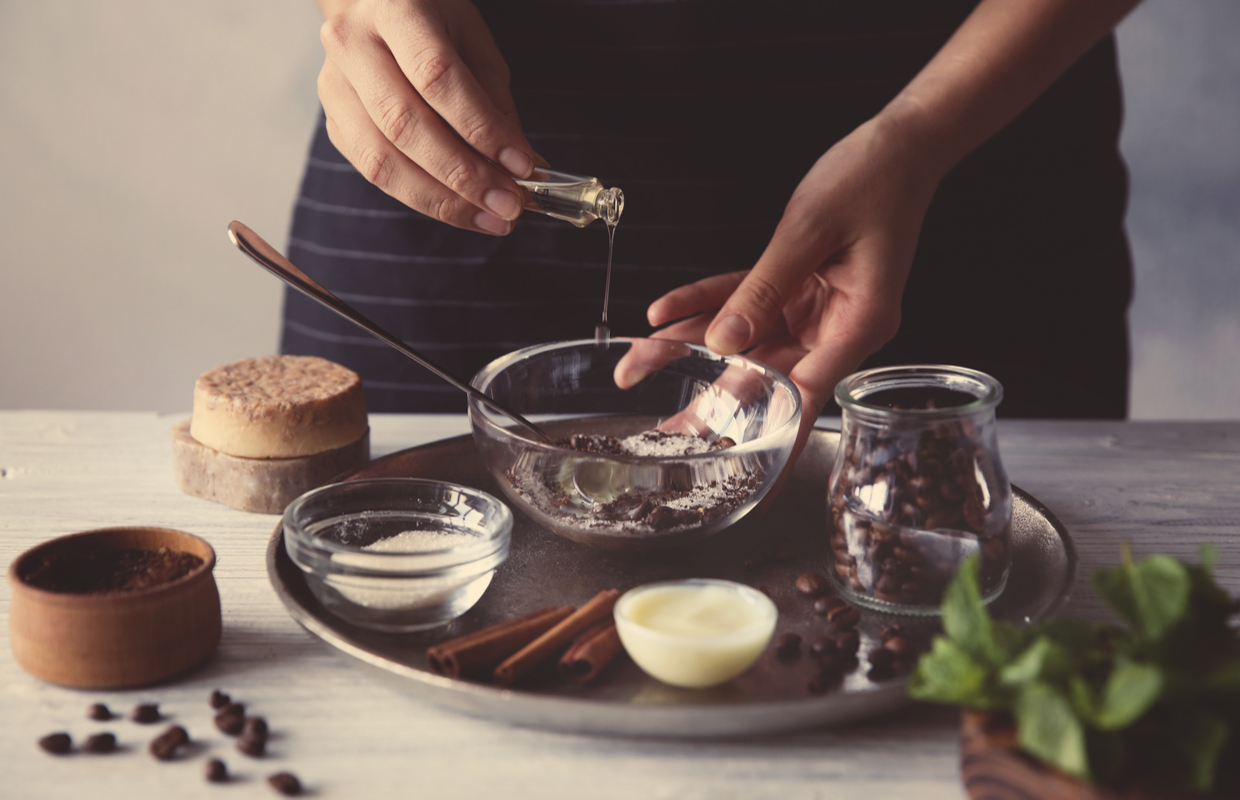
DIY cleansing exfoliator recipe
Try whipping up a cleansing exfoliator…
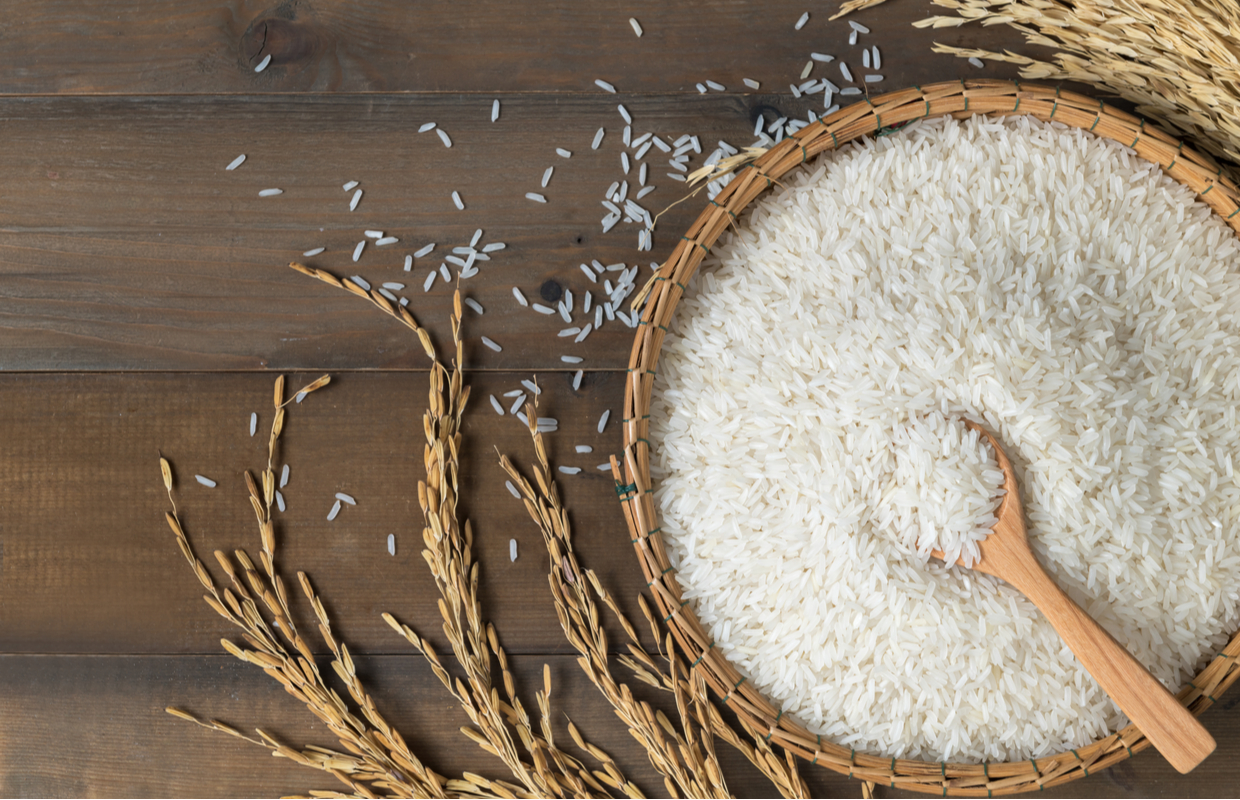
- Start by blitzing up three almonds with 2tbsp of uncooked rice, making them as fine as possible. Do this by hand or with a coffee grinder.
- Then add 1tsp of dry milk powder – full fat if possible as this is packed with fatty acids to plump – combining everything fully.
- Apply with water every morning to buff away dead skin cells and clear up your complexion.
- As you work it all over, use small circular motions to stimulate blood flow and in turn skin cell regeneration, and rub a little harder over areas prone to breakouts.
You can keep this on the bathroom shelf in a sealed jam jar (it will last up to two weeks as it is made of dry ingredients). The rice and almonds physically slough away the bad stuff, and they’re also packed with vitamins A and E, which work as gentle anti-agers to give fresher looking skin after just a few uses.
Add a chemical exfoliant…
If you want to up the buffing powers of this DIY homemade skincare product, take a little of the exfoliator, and separately mix it with a few mashed-up strawberries. Strawberries are high in alpha-hydroxy acids, better known as fruit enzymes, which boost the exfoliating and skin regeneration processes, taking away the build-up of old skin, dirt and make-up, while feeding the new skin cells beneath.
DIY skincare hacks for puffy eyes
Chill out with help from cucumber, chamomile and celery, which are known for their cooling properties. Cut the veggies into half-moon shapes and freeze them, then place them under your eyes to depuff them as they melt.
For the tea, brew up, then cool before popping in a spritz bottle so you have your own beauty mist!
Homemade herbal toner recipe for clogged skin
A facial steam using a herbal toner is ideal if you suffer with clogged pores, which can make skin look inflamed, grey and less than youthful.
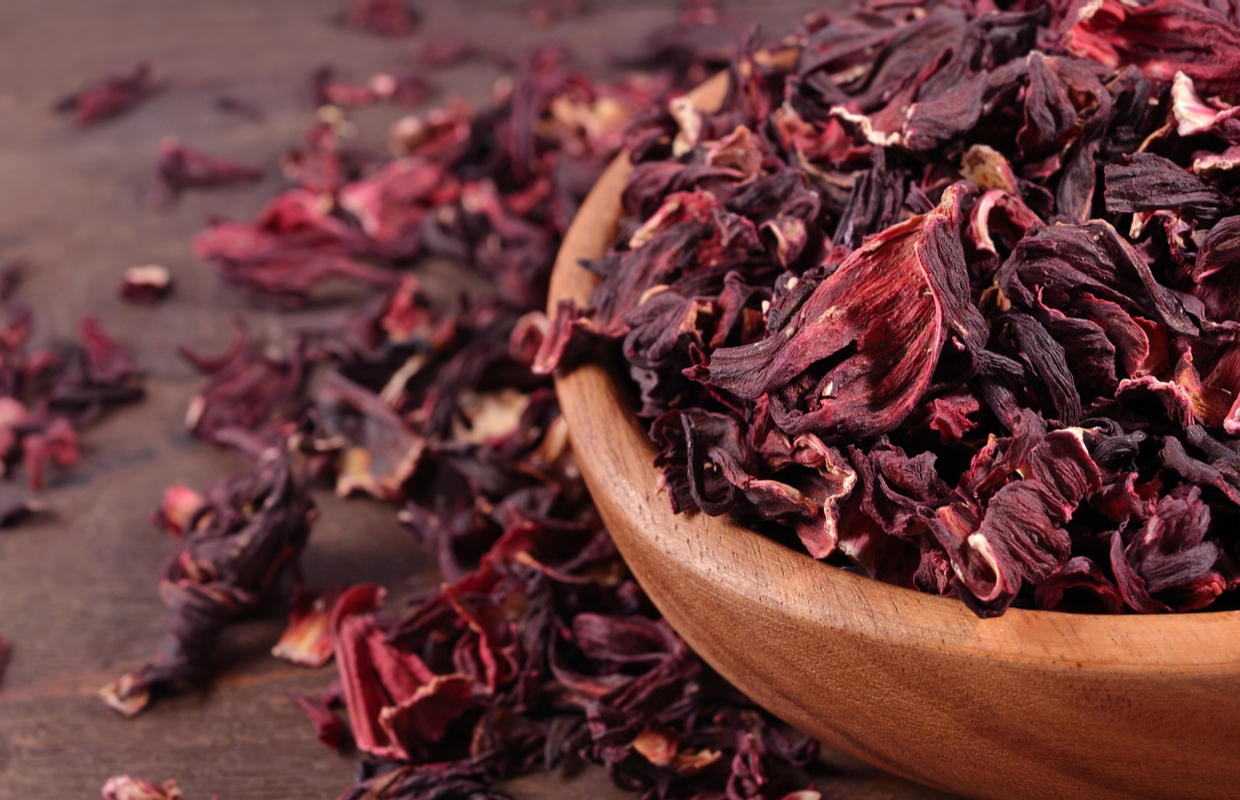
- Start by brewing either hibiscus flower tea, or pouring boiling water over dried hibiscus flowers, in a large bowl, wider than your face. Hibiscus has natural cleansing properties which you release as you steam.
- Add a handful of fresh basil as it has anti-inflammatory abilities, thus calming down redness.
- Cool slightly so as not to burn your face with that first layer of steam, then carefully lean over the bowl – your face should be around 25cm from the water to protect your skin.
- Place a towel over your head and the bowl, then relax for around 10 minutes, allowing your face to get sweaty.
- When your time is up, dip a clean cloth into the blend, working it across your face to brighten and clear your pores.
DIY homemade face mask recipe
Face masks are not only simple to create, when used once a week they can make all the difference to firming, plumping and toning your skin.
- Start with one tablespoon of natural yoghurt, which contains alpha-hydroxy acids to work away any remaining dead skin cells and dirt, making way for fruit and veg ingredients to dig deep.
- Add to this half an avocado, which contains rich fatty oils that delve into your skin, softening and hydrating the layers of skin cells.
- Next, work in a few segments of grapefruit, which is packed with vitamin c to help fight free radicals, pollution and damage from the sun’s UVA rays.
- Blend into a paste, then paint this mask on using a clean make-up brush, leave for 10-20 minutes, before rinsing well.
- Remember to treat this DIY creation as a one-off use as the ingredients are so fresh they will go off quickly.
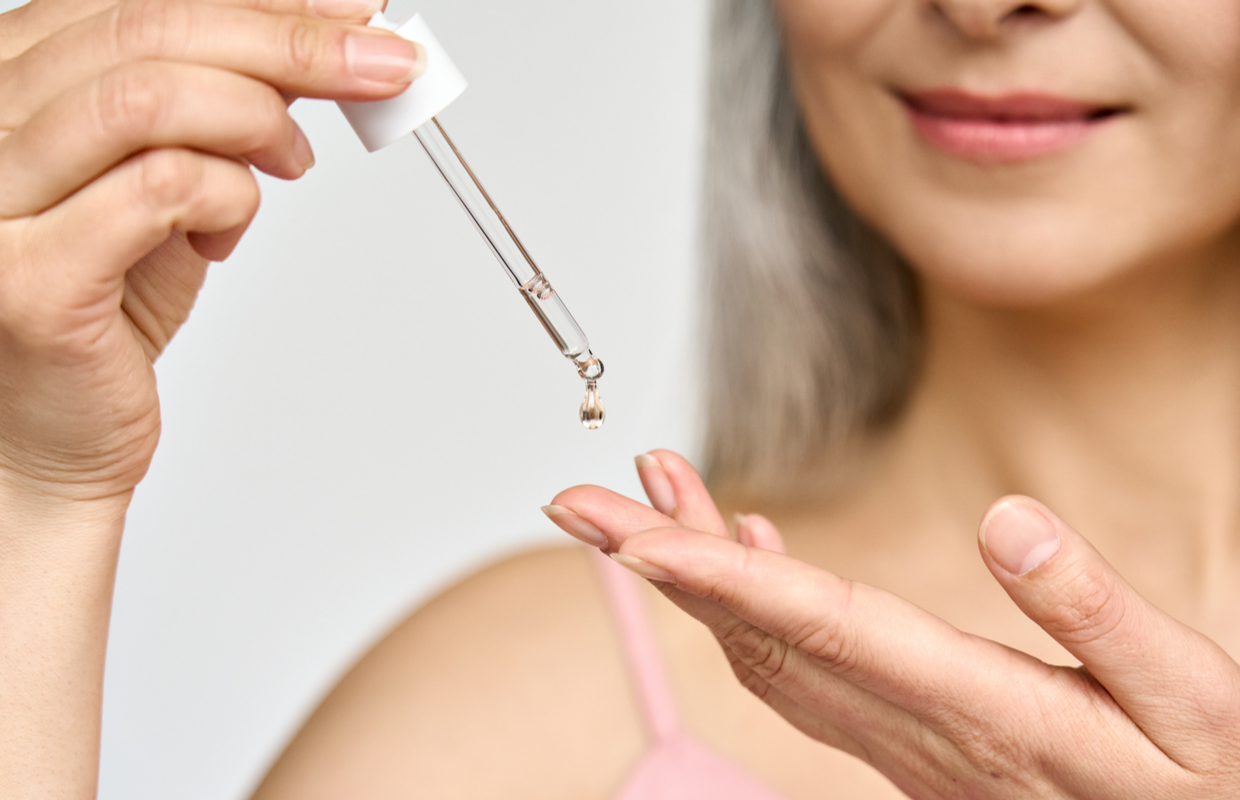
DIY homemade facial serum recipe
Did you know, you can make your own oil-based serum using a few simple ingredients from your cupboards? It’s so easy!
- First, raid your cupboards for a good quality, unrefined, cold pressed sesame seed, walnut or olive oil – they’re full of moisturising goodness, plus are made up of small particles that can penetrate deep into your skin layers, to plump while encouraging them to hold onto water for longer.
- You can use them straight, or add a few drops of essential oil such as geranium.
- Massage a pea-sized amount across your face, using sweeping upwards motions to work out the muscles in a firming fashion while you treat your skin.