Sometimes it’s good to take your time over things – food being one example. These new time-consuming recipes from Carla Lalli Music may take a while to prepare, but the results are oh so worth it!
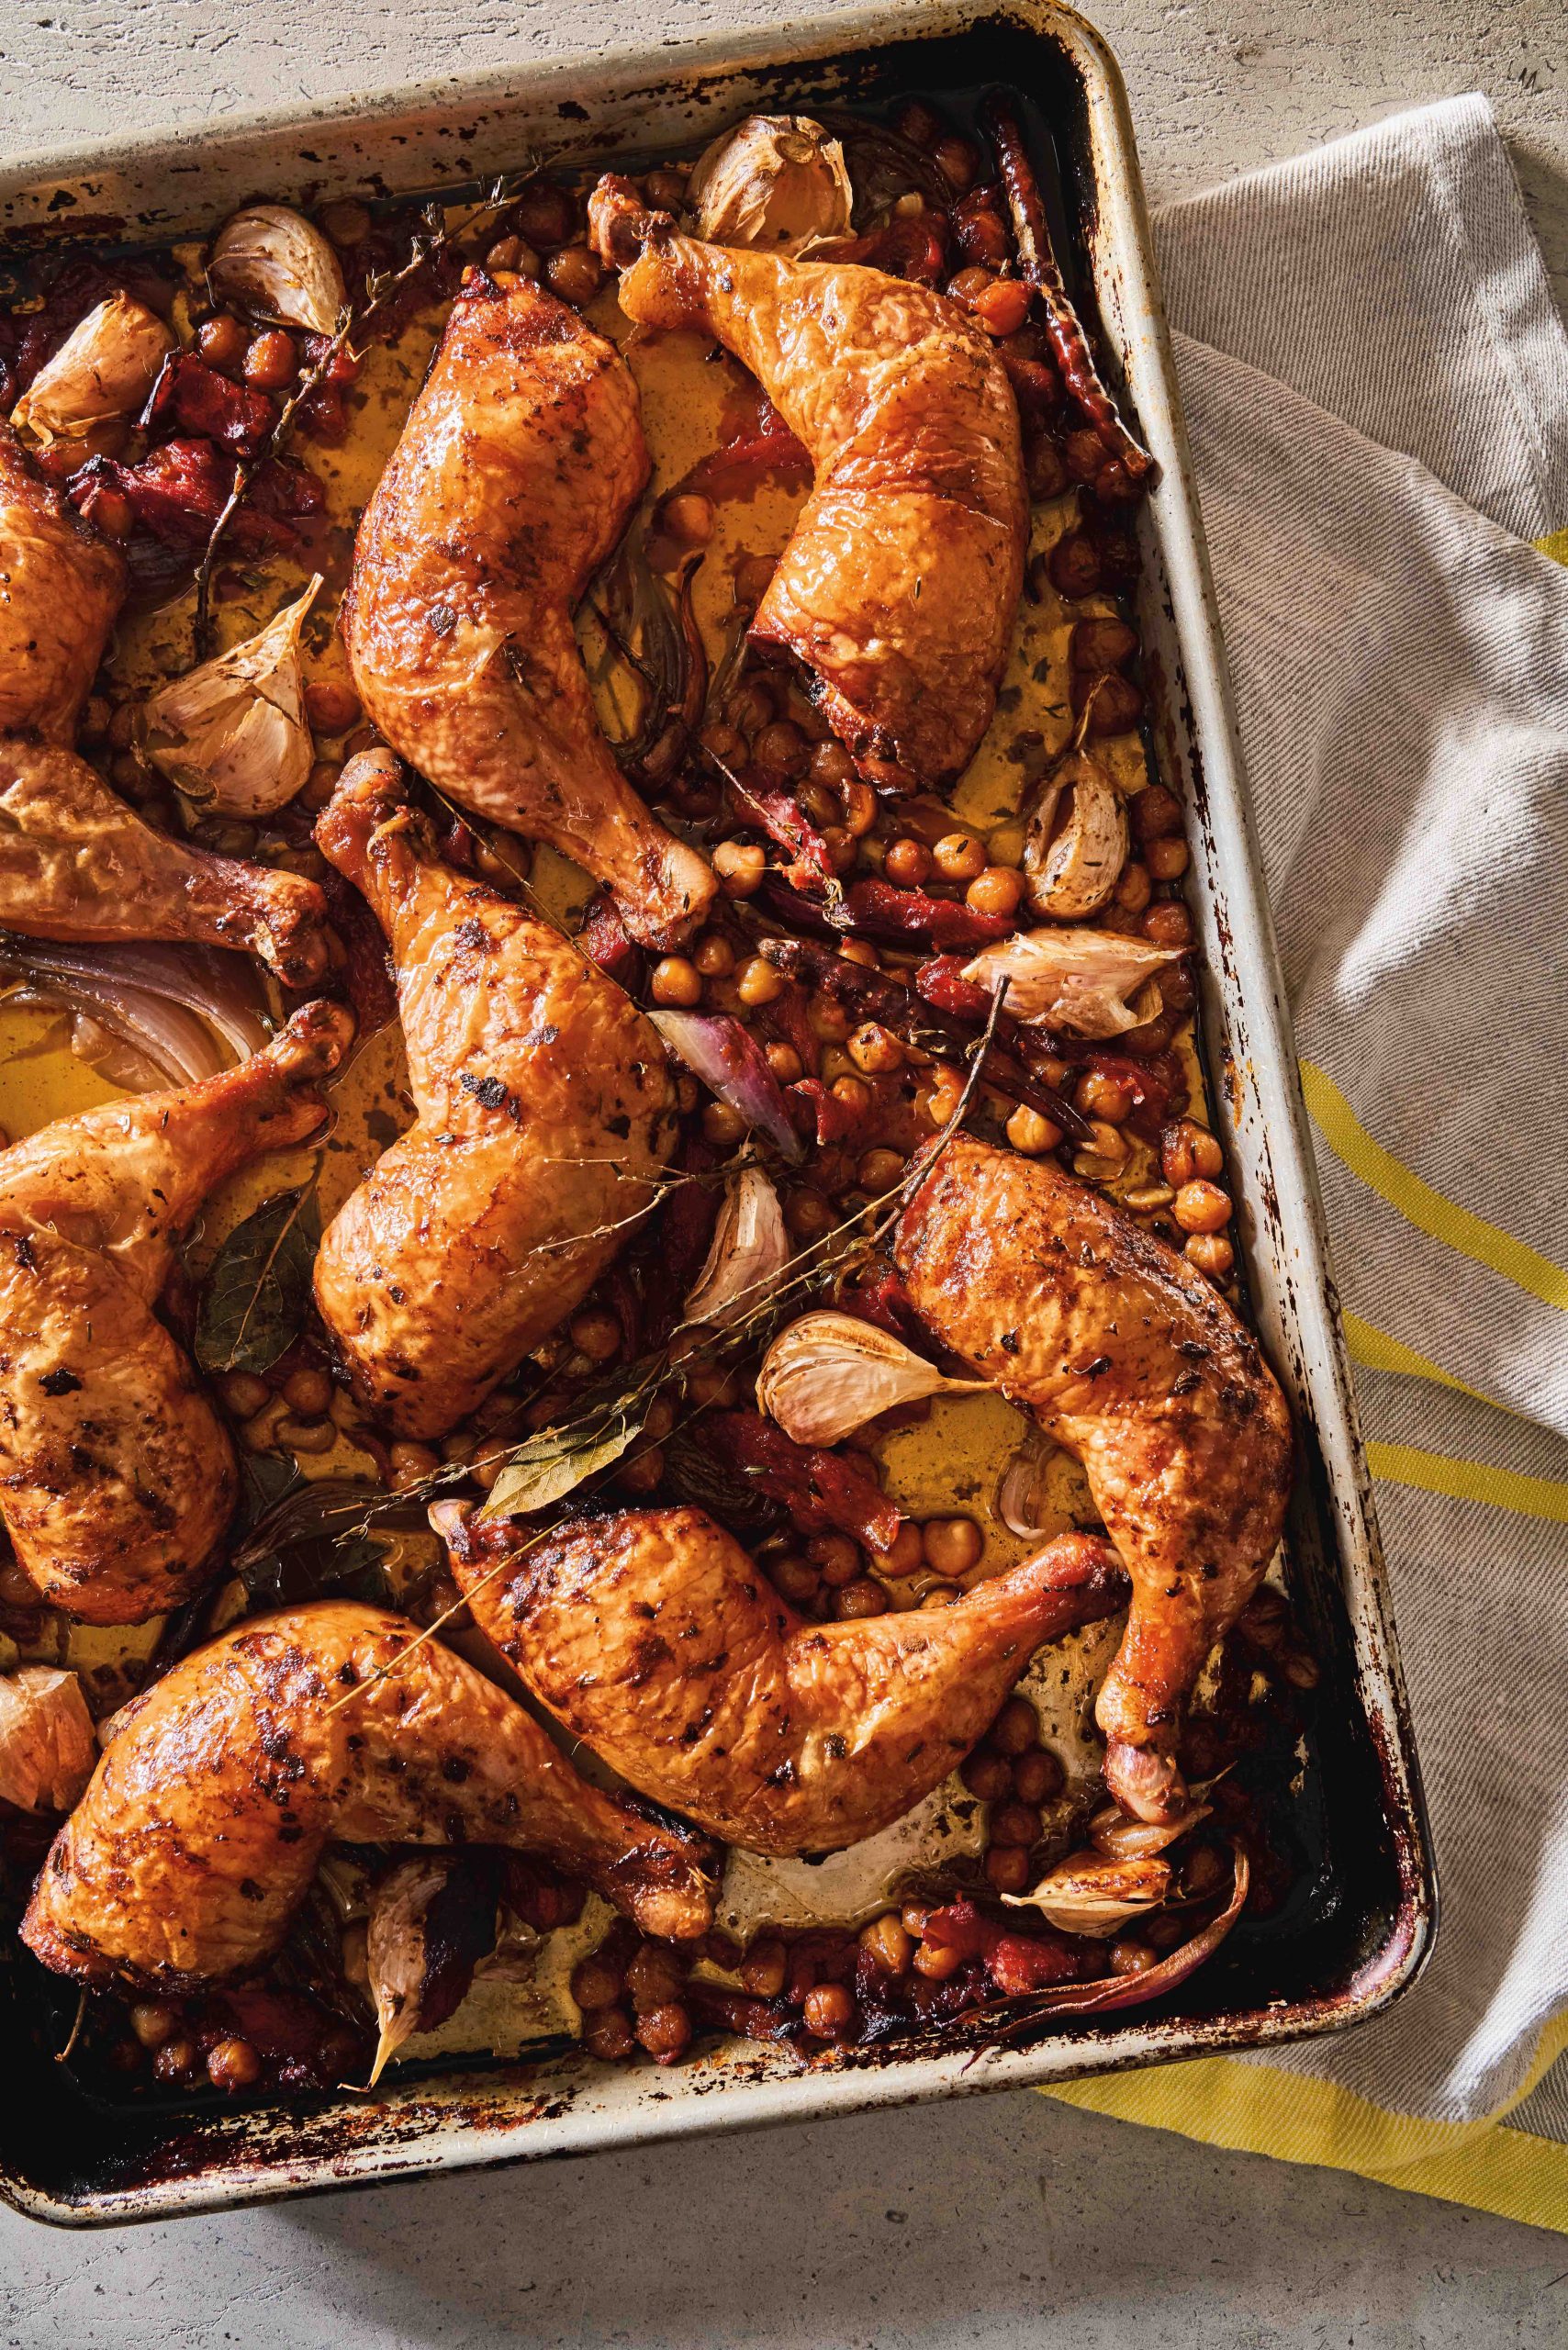
Sheet pan chicken with tomatoes and chickpeas
This isn’t a true confit because the chicken isn’t fully submerged in fat, but there’s a very generous amount to caramelise the tomatoes and chickpeas, and create a concentrated pan sauce while
the chicken slow-roasts up top. As time-consuming recipes go, this one is sure to be a hit with the whole family! 8 servings.
Ingredients:
- 2 tbsp paprika
- 1 tbsp dried oregano
- 8 chicken leg quarters (thigh and drumstick; about 2.75kg total)
- 2 tbsp kosher salt, plus more as needed
- 2 x 640g cans whole, peeled tomatoes
- 6 thyme sprigs
- 2 x 430g cans chickpeas
- 4 bay leaves
- 3 chillies de árbol
- 310ml extra-virgin olive oil
- 1 large red onion
- 2 garlic cloves, unpeeled
- Sherry vinegar, for serving
Method:
- Stir together the paprika and oregano. Arrange chicken on a large, rimmed baking tray and season with 2 tbsp salt, then the spice mixture (use all of it). Set aside at room temperature (or refrigerate chicken, uncovered, overnight).
- Preheat the oven to 160°C, 140°C fan, gas 3. Drain tomatoes and tear them into 4 or 6 strips each, transferring to another large, rimmed baking tray as you go. Drain and rinse chickpeas; add to baking tray. Add the thyme, bay leaves and chillies, scattering them about. Season with salt and pepper, then pour over 125ml oil and stir to coat.
- Bake until tomatoes are shrunken and look a bit dried out and chickpeas are starting to turn golden brown, for about 1 hr, stirring once halfway through (this cooks off some moisture in the tomatoes so they’ll get nice and jammy by the end).
- Meanwhile, peel the onion and cut into 5mm wedges. Lightly crush the garlic cloves. Add the onion and garlic to the tomato-chickpea mixture. Nestle in the chicken, skin side up, then pour over the remaining 185ml of oil.
- Bake until the skin is browned and the meat is tender enough to shred with a fork – about 1½ hrs. If the chicken isn’t done, bake for 15 mins more, then check again. Go longer if needed.
- Transfer chicken to a large platter. Pluck out bay leaves and thyme sprigs. Using a slotted spoon, spoon tomatoes and chickpeas around the chicken. Pour cooking liquid from the baking tray into a glass measuring cup; let settle for a few mins. Pour most of the oil that rises to the top of the liquid
into a clean jar or bowl, then spoon remaining chicken-y juices over the platter. (Cover and refrigerate the extra confit oil; use it the next time you make beans, soup or roast vegetables.) Season the chicken with a few dashes of vinegar before serving.
Benefits of tomatoes:
In summer, use 20 plum tomatoes, quartered, instead of the canned tomatoes, though both versions are good for you. Tomatoes are a good source of lycopene, with studies suggesting they can help prevent prostate, lung and stomach cancers.
Plus, lycopene is better absorbed when it has been heated, either during processing or cooking, as the heat turns the molecules into more useful isomers. The perfect addition to time-consuming recipes!
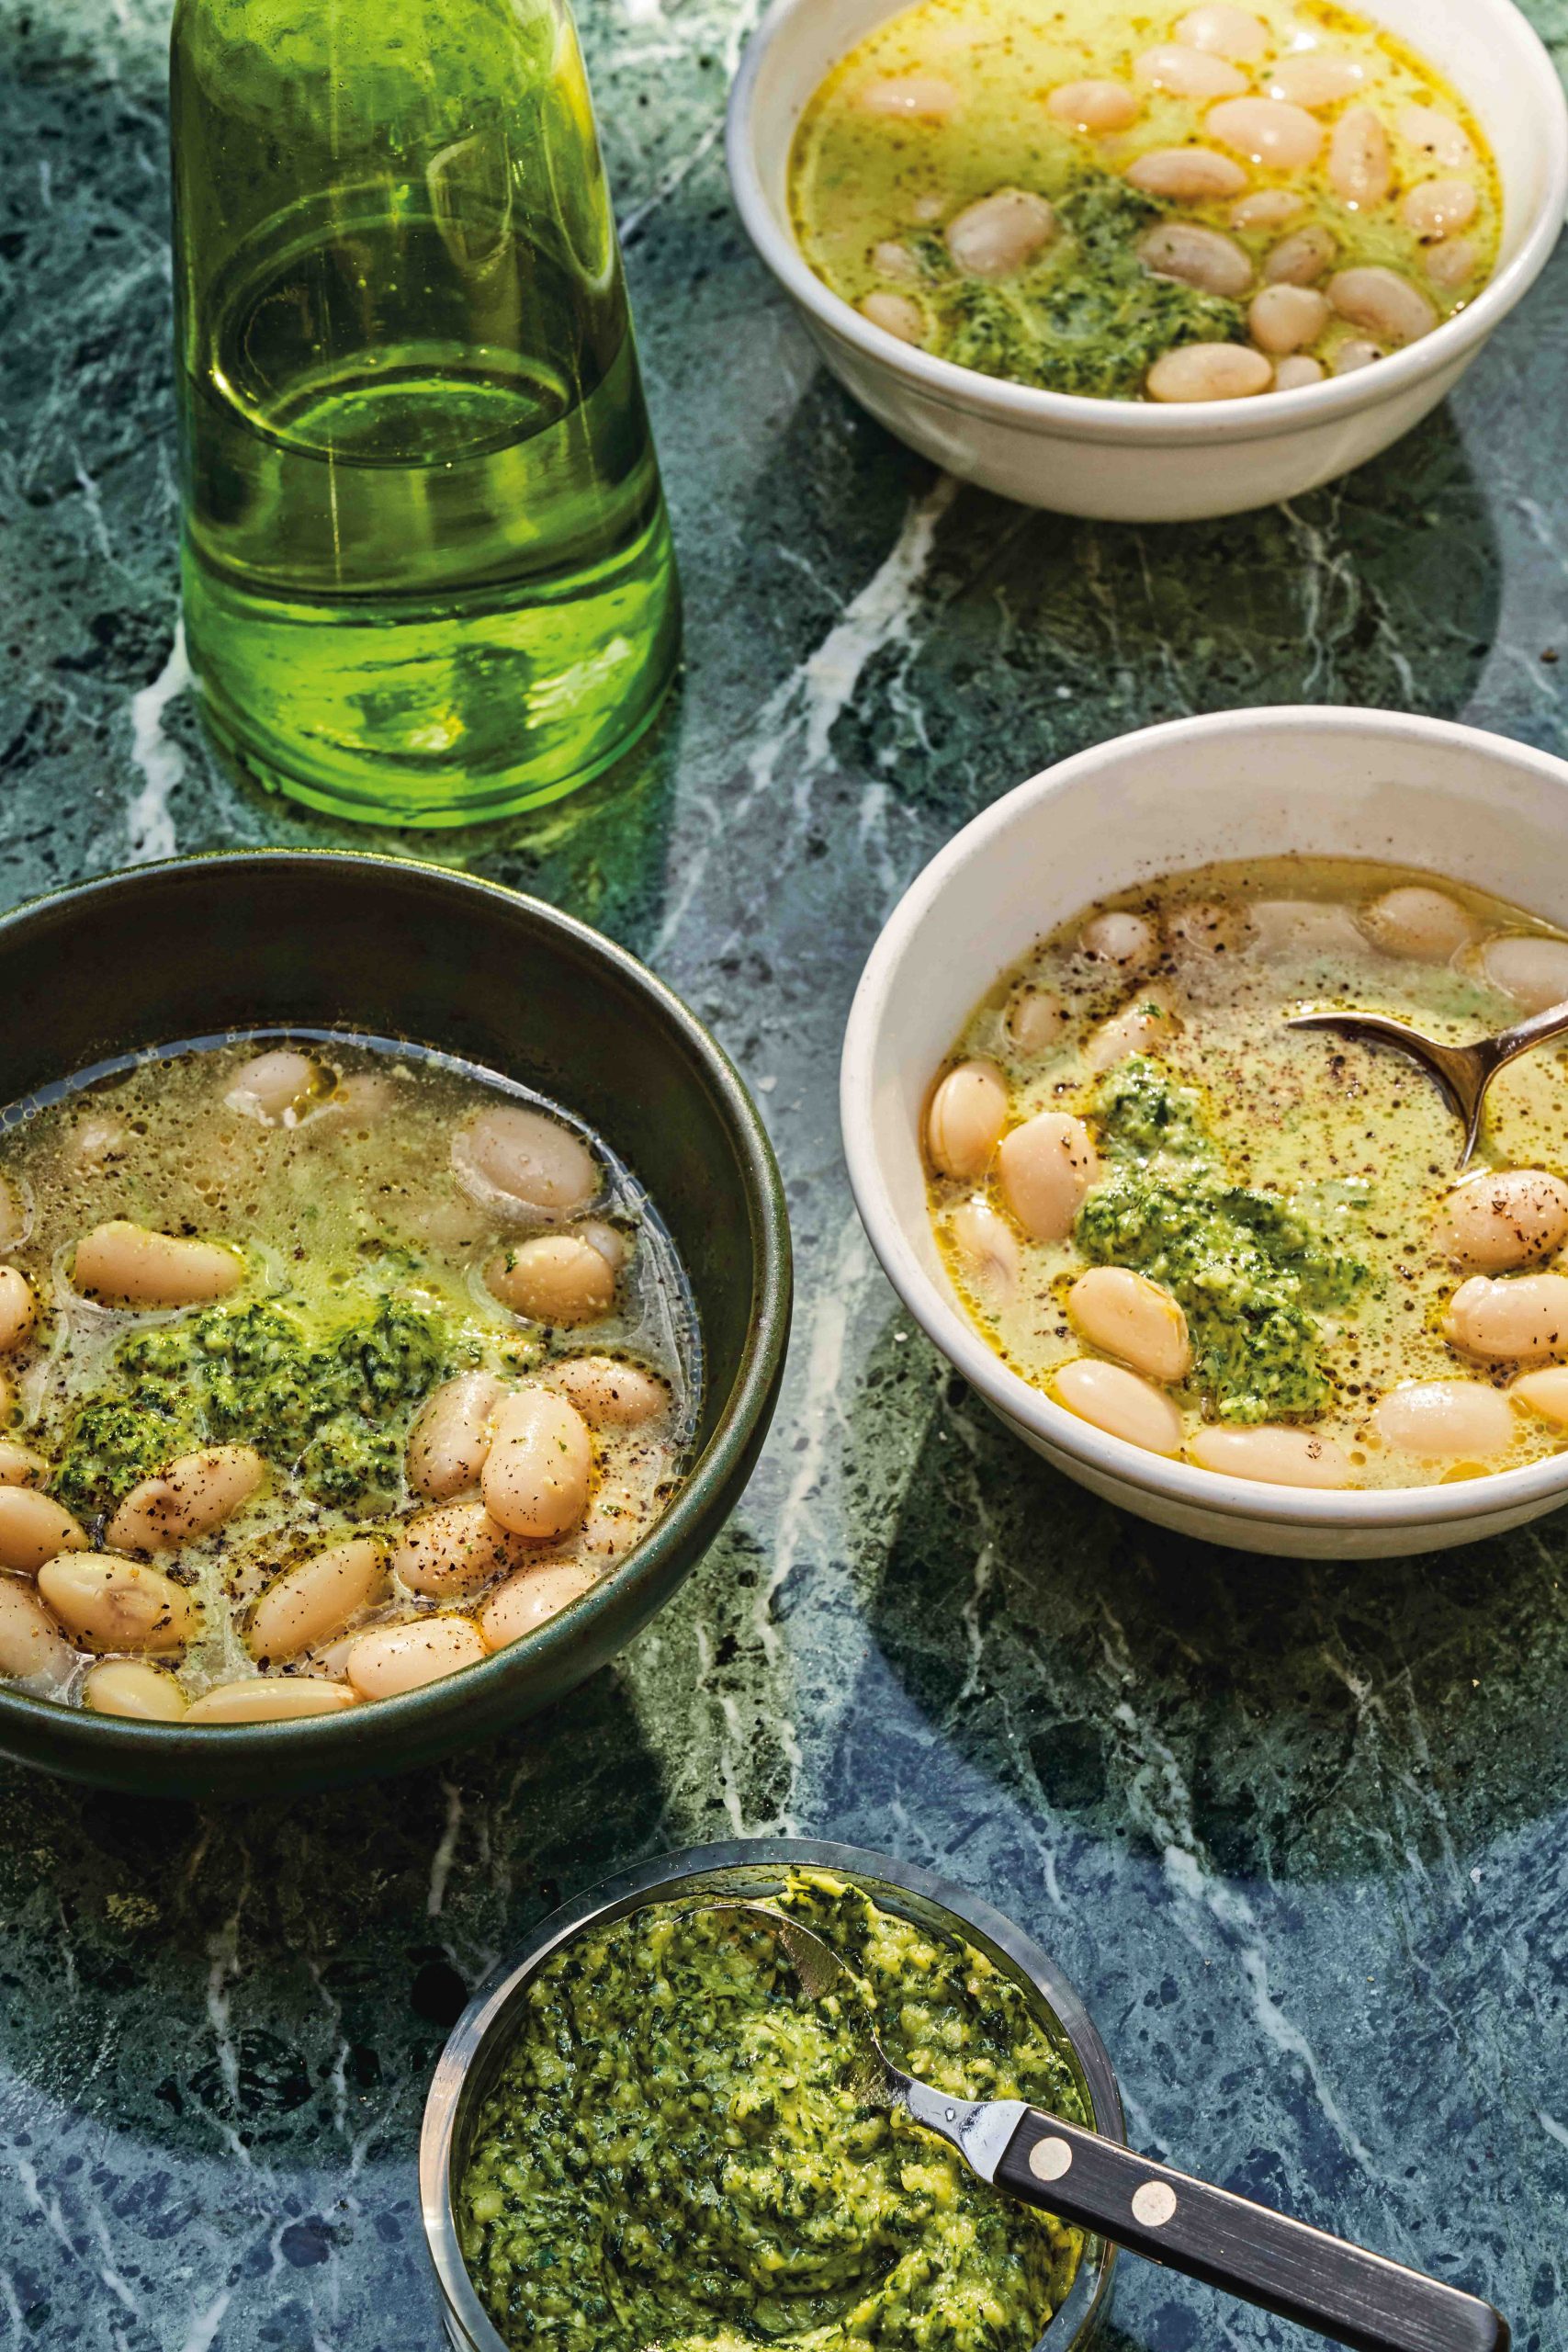
Brothy basil beans
One thing I’ve learned about beans is that some types fall apart when they’re cooked no matter what you do. Some beans have thin, delicate skins and a fine texture. On the other side of the spectrum are chubby white beans, like Greek gigante, haricot and butter beans. They are naturally predisposed to stay intact on the outside (even with time-consuming recipes!) and get super creamy inside, and that’s desirable here.
As they cook, they’ll absorb the flavour of the basil in the cooking liquid. But listen – if your beans fall apart, it won’t ruin the dish. The broth might be a little thicker – no big deal! 6-8 servings.
Ingredients:
- 450g dried large white beans, such as Greek gigante, soaked overnight if possible (or you can use butter beans or chickpeas)
- 1 tbsp kosher salt, plus more for seasoning
- 6 garlic cloves, unpeeled
- 1 French shallot (skin on), halved
- 60ml extra-virgin olive oil, plus more for drizzling
- 1 medium bunch basil
- 40g raw almonds
- 1 lemon
Method:
- Place beans in a medium pot and cover with cold water by 10-15cm – if they’re soaked, no need to drain; go ahead and cook the beans in their soaking liquid, adding more water to cover if needed.
- Add 1 tbsp salt, 3 garlic cloves, the shallot, a few healthy glugs of oil and half the basil (including stems). Bring to the boil over high heat, then lower the heat to a gentle simmer. Cook uncovered, stirring occasionally, until the beans are extremely tender and creamy but not falling to bits – about 1 hr (unsoaked beans will take longer). If the water level gets low, top it up and adjust heat to keep the simmer extremely mellow.
- Meanwhile, bring a medium pot of salted water to the boil. Add the remaining 3 garlic cloves and the almonds and cook until slightly softened, for about 5 mins. This will diffuse some of the garlic’s bite and bring out its sweetness, and blanching softens the almonds so they become smooth in the sauce. Transfer to a small plate with a slotted spoon and let cool.
- Pluck the leaves from the remaining basil (aim for about 1 cup packed). Stir basil into the boiling water and cook until wilted, about 1 min. Transfer the basil to the plate with the garlic and almonds and spread it out to cool. Peel garlic and transfer to a food processor. Pinch almond skins to release nuts (kind of like you’re popping an edamame out of the pod) and add to the processor. Finely grate the zest of the lemon into the processor and pulse until the nuts and garlic are finely chopped, for about 30 secs. Squeeze out excess liquid from the basil and add it to the processor, along with 60ml of oil. Blend until the pesto is creamy; taste and season with salt and pepper and blitz again to combine.
- Pluck out the basil stems and shallot from the beans. Serve beans and their broth topped with spoonfuls of pesto.
Benefits of adding beans to time-consuming recipes:
Trouble sleeping? Add some white beans to your time-consuming evening recipes as around 170g – roughly a cup – provides 26 per cent of your recommended daily intake of magnesium, which is needed for a good night’s sleep as it can help calm the mind, enabling you to sleep longer.

Spaghetti with melted cauliflower sauce
In this humble pasta sauce, an extended sauna in olive oil and garlic transforms cauliflower from crisp and peppery to soft and sweet. If the cauliflower you bought is substantially larger than 450g, lop off a piece first so the ratio of vegetable to noodle isn’t out of whack. 4 servings.
Ingredients:
- 1 head cauliflower (about 450g)
- 1 large French shallot
- 6 garlic cloves
- 125ml extra-virgin olive oil, plus more for drizzling
- 4 anchovy fillets packed in oil, drained
- 1 tsp mild chilli flakes, such as Aleppo pepper
- 450g spaghetti
- 50g grated Parmigiano, plus more for serving
- 1 lemon
Method:
- Trim the base of the cauliflower, but don’t core it. Snap off the outermost leaves from the base, leaving the pale green inner ones. Roughly chop the cauliflower. Transfer cauliflower to a food processor and pulse into pieces no bigger than 1cm – some bits will be smaller. Finely chop the shallot. Thinly slice the garlic. Heat oil in a medium enamelled cast-iron casserole pot or other heavy-bottomed pot with a lid over medium heat. Add the shallot and garlic, and season with salt and pepper. Cook until the garlic is translucent, about 2 mins. Add the anchovies and cook, stirring, until they disintegrate, about 1 min more. Add the cauliflower and season with the chilli flakes, plus more salt and pepper. Cook, stirring, until the cauliflower is coated in oil and starting to sweat, or for about 5-7 mins. Reduce the heat to very low, cover the pot and cook, stirring occasionally, until the cauliflower is lightly browned and essentially rendered to very tasty mush – about 30-35 mins.
- Meanwhile, bring a large pot of salted water to the boil over high heat. When the cauliflower is almost done, cook the spaghetti, stirring occasionally, until very al dente – 3-4 mins less than the time indicated on the packet (it will finish cooking in the sauce).
- Using tongs or a mesh spider, transfer pasta to the pot with the cauliflower sauce, along with about 1 cup of pasta cooking liquid (or scoop out about 2 cups of the pasta liquid, then drain pasta in a colander). Bring sauce to a simmer over medium-high heat and cook, stirring and tossing pasta into the sauce as you gradually add the Parmigiano. Cook, tossing and adding more pasta liquid as needed, until the spaghetti is al dente and the sauce has thickened enough to generously coat the pasta, or for about 3-4 mins.
- Halve the lemon and squeeze the juice into the pot and stir to combine. Serve the pasta with more Parmigiano at the table.
The benefits of eating cauliflower
Looking to better support your immune system? Add some cauliflower to your quick or time-consuming recipes! Cauliflower is high in vitamin C – in fact just 128g, or one cup, provides 77 per cent of your RDI. Vitamin C is well known for its anti-inflammatory effects that may boost immune health, as well as help reduce the risk of heart disease.
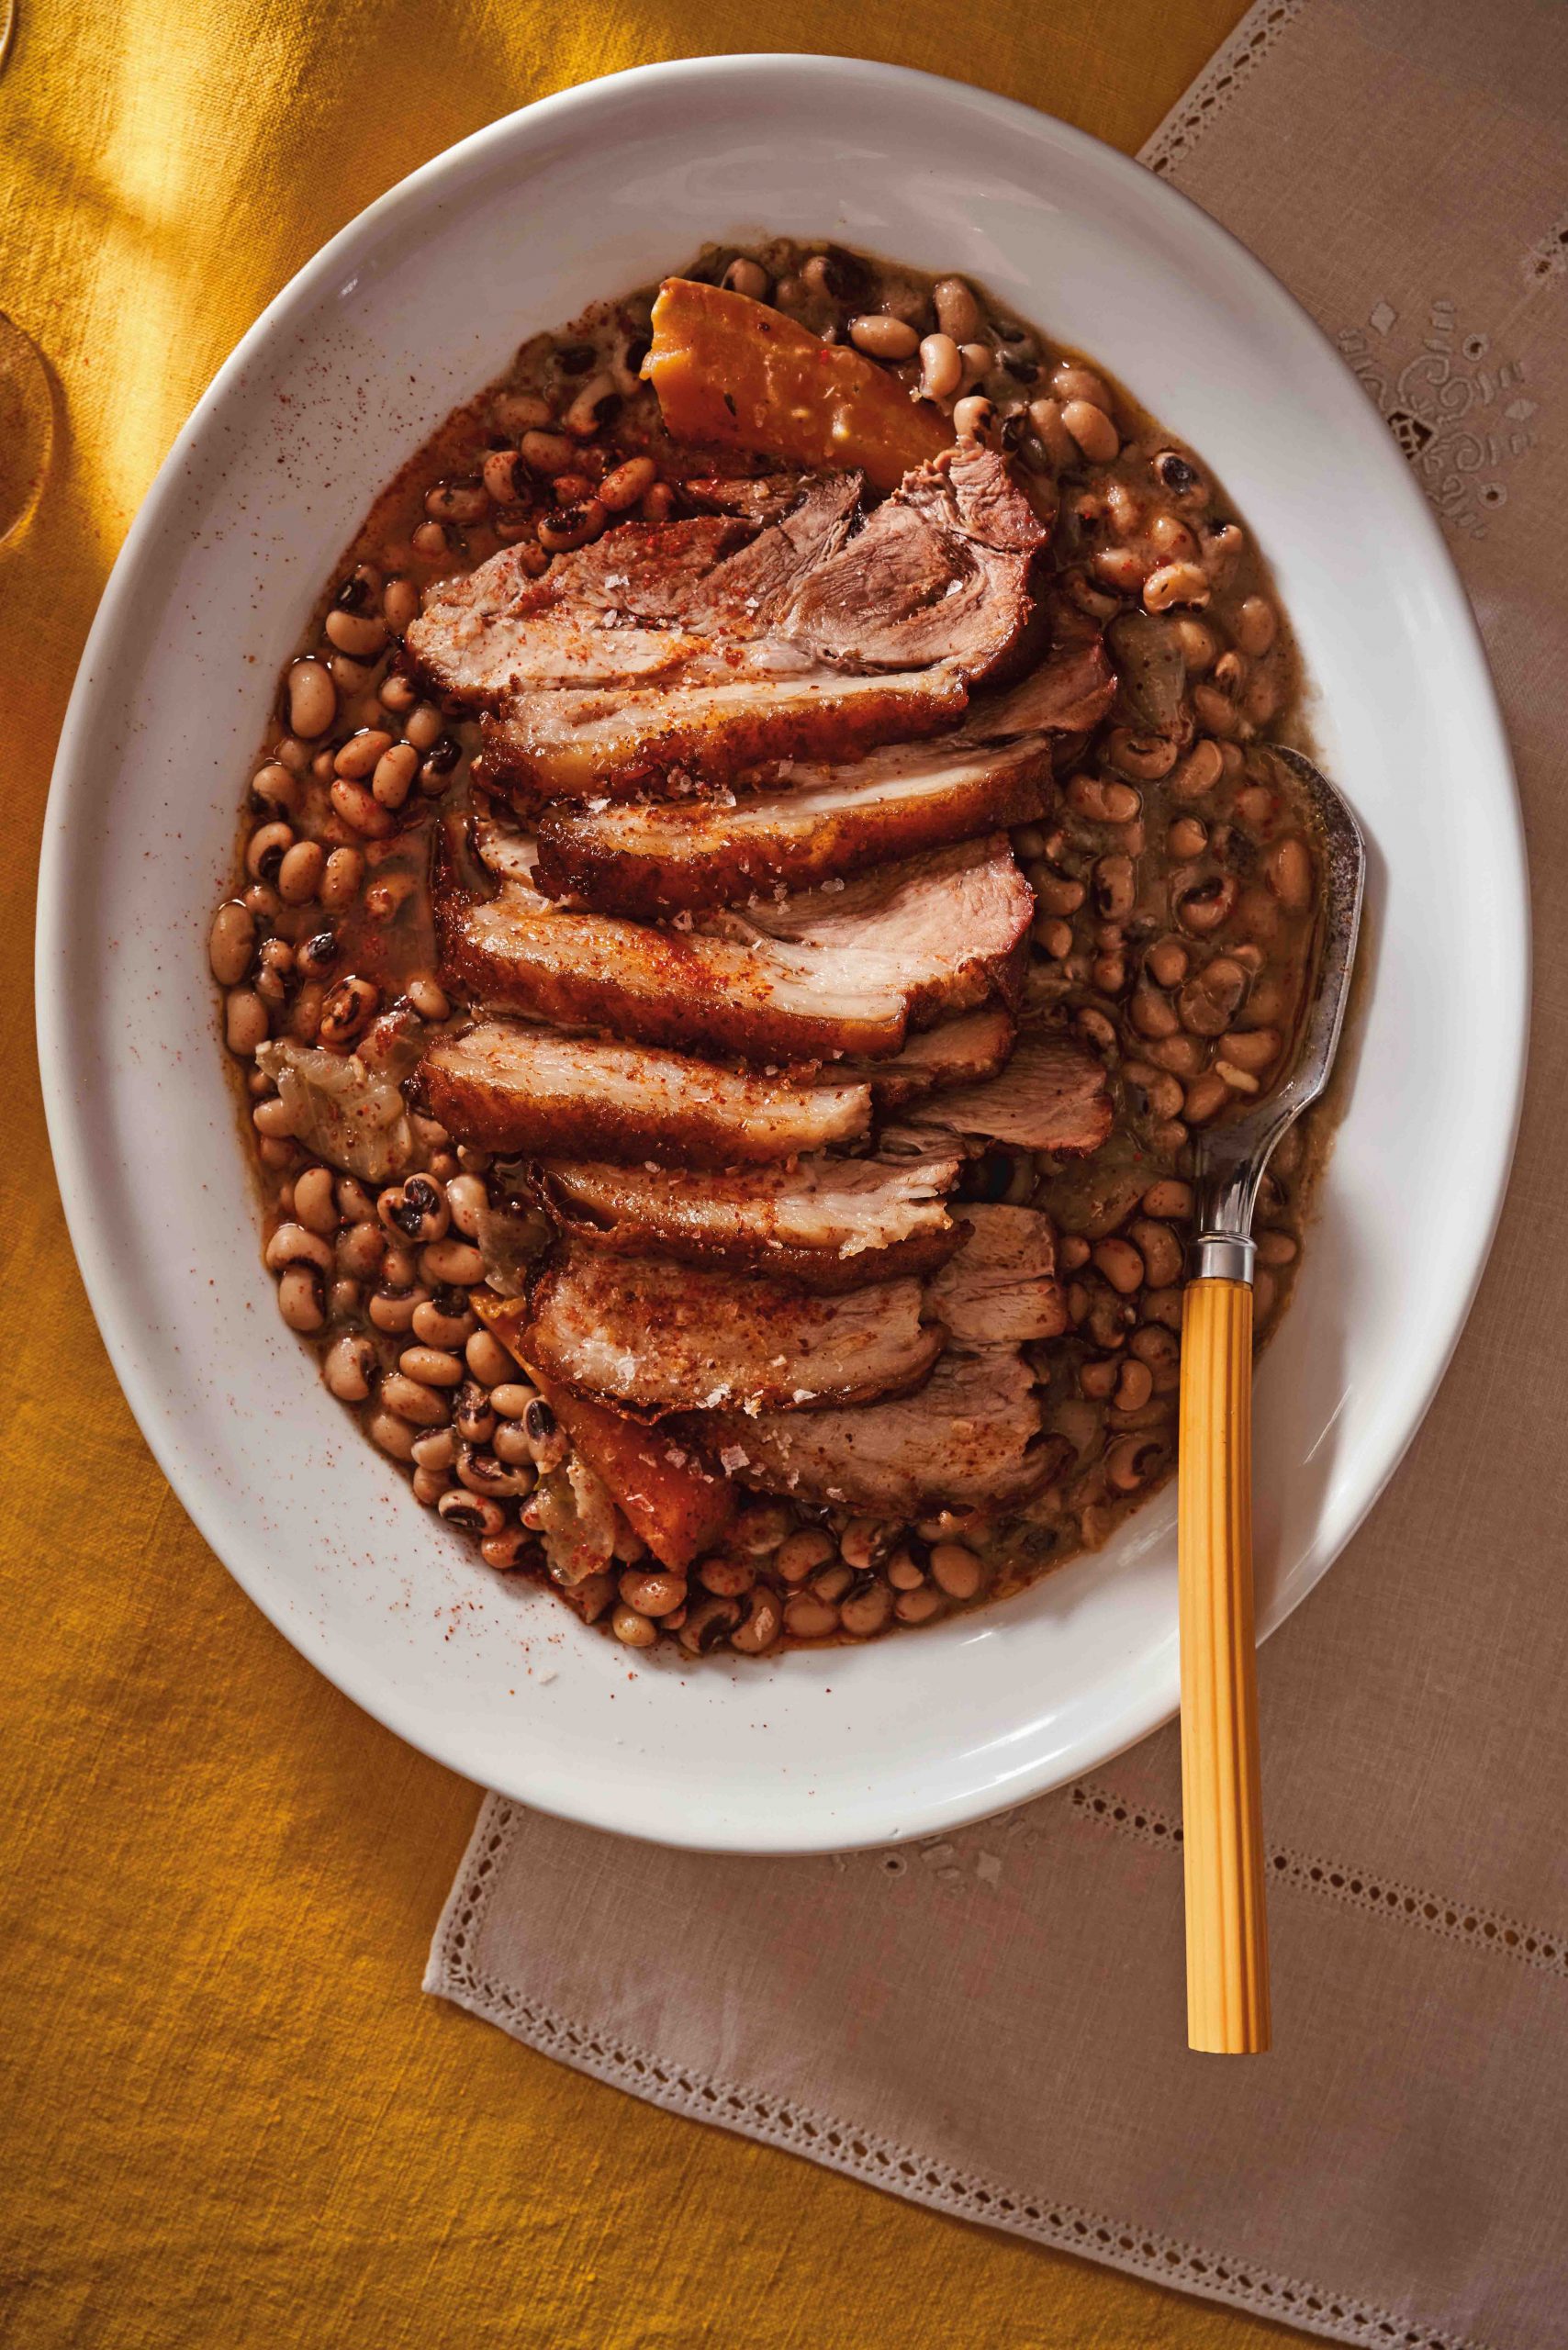
Hands-off pork and beans
This pork roast method falls somewhere between a slow roast and a braise, and I am always astounded that the meat and the beans get done at almost the same time (you do need to soak the beans overnight and season the pork at least 12 hours ahead, however. We said these were time-consuming recipes!).
However, almost nothing is required of you at the beginning and end of the cooking process, making this a major-no-brainer meal for entertaining. 6 generous servings.
Ingredients:
- 1 tbsp piment d’Espelette (or replace with ½ tsp cayenne pepper or 2 tsp chilli powder)
- 1 tbsp hot smoked paprika
- 2 tbsp kosher salt, plus more for seasoning
- 1 tsp cayenne pepper
- 1 x 1.35kg bone-in pork shoulder or rump
- 450g dried black-eyed peas
- 1 carrot
- 1 medium onion
- 6 garlic cloves
- Small handful thyme sprigs
- Extra-virgin olive oil, for drizzling
- 2 tbsp sherry vinegar, plus more as needed
Method:
- Stir together piment d’Espelette, paprika and cayenne pepper in a small bowl. Season pork all over with 1 tbsp salt, then with the spice mixture, patting it on. Wrap the pork (I use the butcher’s paper it came in) and refrigerate for at least 12 hrs and up to 2 days.
- Pick through the beans for debris, then rinse. Place the beans in a large bowl or pot. Cover with 3 litres of water; let sit overnight (coordinate timings with the pork so the beans are done soaking when your pork has been seasoned and chilled for the right amount of time).
- Preheat the oven to 160°C, 140°C fan, gas 3. Transfer soaked beans, with their liquid, to a large enamelled cast-iron casserole pot or roasting pan.
- Scrub carrot and roughly chop. Peel and halve the onion through the root; smash the garlic. Add the vegetables to the beans along with the thyme. Stir in 1 tbsp salt.
- Nestle the pork on top of the beans, fatty side up, and drizzle with oil. Bring the liquid to a simmer over a medium-high heat, stirring beans around the pork and skimming off any foam that rises to the surface, then cover and transfer to the oven. (If using a roasting pan, cover with baking paper and then with foil, crimping edges to seal.) Cook until the beans are cooked through and very tender and you can pull off a bit of pork with tongs and it’s not tough or chewy when you eat it. Takes about 2-2½ hrs (or longer, if needed).
- Remove the pot from the oven; increase oven temperature to 190°C. Carefully transfer the pork, still fatty side up, to a rimmed baking tray and ladle enough cooking liquid around it to come 1cm up the sides. Return the pork to the oven (uncovered this time) and roast until the fat is brown and crisp, for about 45-55 mins (check it every 15 mins or so and replenish liquid if it has evaporated).
- Meanwhile, remove the thyme sprigs from the bean mixture. Transfer half the beans, with liquid, to a blender and blend on high speed until thick and creamy. Pour it back into the casserole pot and stir in the vinegar. Season with salt, pepper and more vinegar as desired. Keep warm.
- When pork is ready, transfer it to a cutting board and let it sit until no longer screaming hot. Pour any liquid from the baking tray back into the bean mixture. Cut the pork away from the bone, then slice into 1cm-thick pieces against the grain (because the pork is so tender, it may shred into smaller pieces as you slice – no stress!). Spoon beans onto a deep platter, then top with the pork, or pass the pork and beans at the table separately.
How to prep time-consuming recipes like this ahead of time:
To make this a day or two before you want to serve it, pause at the step before the pork is reheated in the oven. Let beans and pork cool, then cover and refrigerate. Reheat the bean mixture before puréeing half, and use water instead of the bean liquid on the baking tray when the pork goes back into the oven.
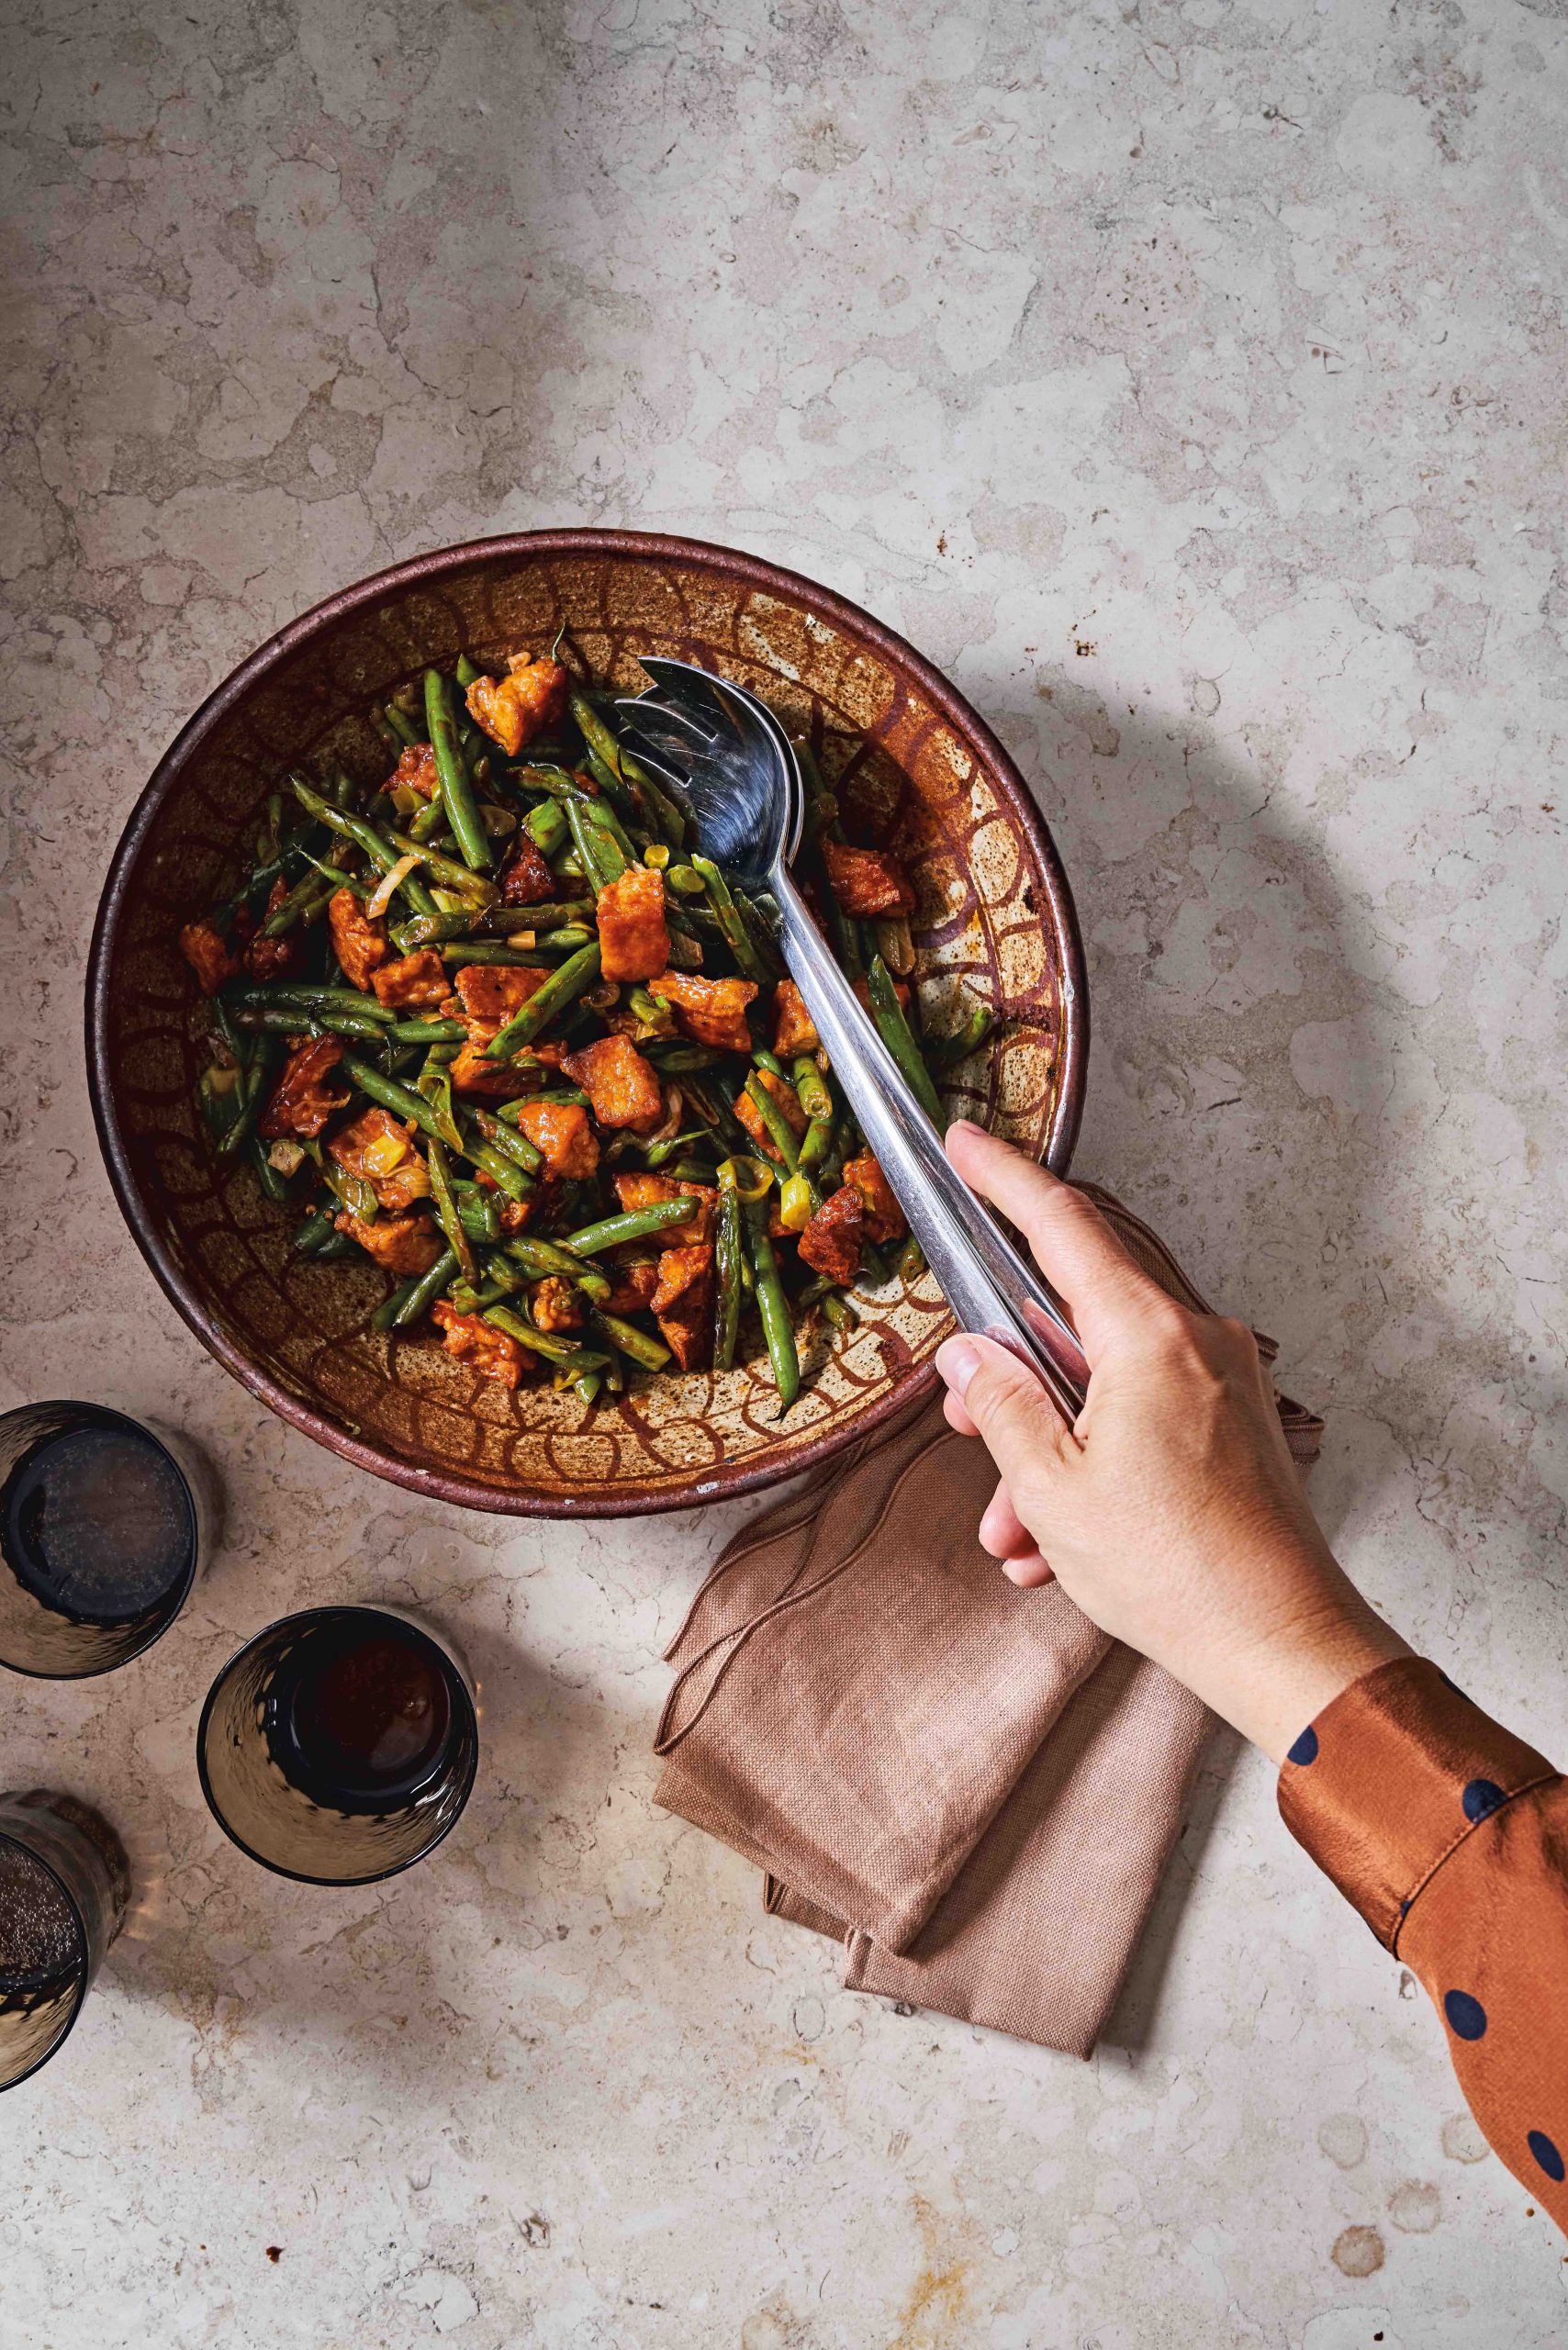
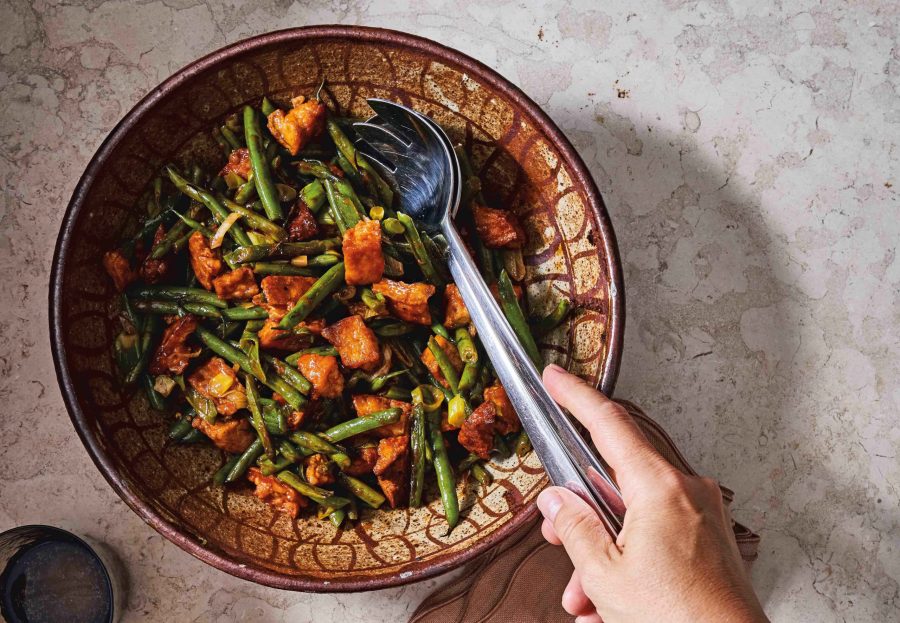
Spicy-tangy green beans and tofu
Pressing the liquid out of firm tofu condenses it and helps it get crisp – tearing it creates irregular pieces that get as crunchy as popcorn prawns. While these are time-consuming recipes, pressing the tofu only takes about 15 mins. Start your prep with this step and by the time you have the rest of the ingredients measured out, it will be ready to go. 2 generous servings.
Ingredients:
- 400g firm or extra-firm tofu
- 450g green beans
- 1 large bunch spring onions (about 12)
- 3.5cm piece fresh ginger
- 60ml mirin
- 2 tbsp soy sauce
- 2 tbsp gochujang
- 1 tbsp black vinegar
- 80ml vegetable oil
Method:
- Drain the tofu and cut it lengthways into 6 planks. Place a clean tea towel on a baking tray, with plenty of overhang. Arrange the tofu in a single layer on the towel, then fold the towel over to cover. Place another baking tray on top, then put a heavy frying pan, enamelled cast-iron casserole pot, or a few cans of tomatoes on top to weigh it down for 15 mins. The towel will absorb the excess liquid.
- In the meantime, trim the stem ends of the green beans, then halve the beans on an angle. Trim the spring onions, slicing the white and green parts into 5mm-thick rounds. Peel and grate the ginger. Set beans, spring onions and ginger aside separately. Tear tofu into jagged 2cm pieces.
- In a small bowl, whisk together the mirin, soy sauce, gochujang and vinegar. Heat the oil in a large highsided frying pan over medium-high heat until shimmering. Working in two batches, add the tofu to the pan in one layer and cook, undisturbed, until dark golden and crisp on the underside – about 5-6 mins. Toss the tofu to release, then turn onto other side and cook until browned – about 4 mins. Use a slotted spoon to transfer the tofu to a large plate; season lightly with salt. Repeat with remaining tofu.
- Return frying pan to medium-high heat and add the green beans, spring onion and ginger. Season with salt and toss to coat. Cook, tossing occasionally, until the vegetables are browned and slightly shrivelled but still have some juiciness – about 4-6 mins. Pour in the mirin mixture and simmer until a little bit thickened or for 1 min. Return tofu to the frying pan and stir to coat – about 30 secs – and serve.
That Sounds So Good by Carla Lalli Music (Hardie Grant, £22) is out March 17.